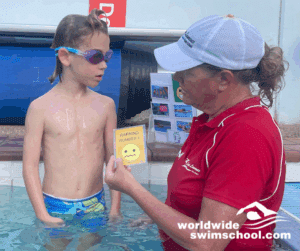
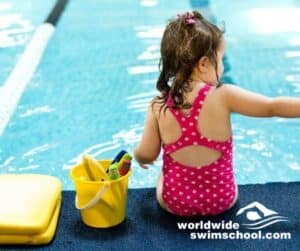
Ledge kicking is often used as an introductory warm up activity in the Learn to Swim Principles. Utilising shallow ledges where children over the age of 4 can practice kicking drills is ideal. In this way, the depth of the kick is restricted. Also, children learn to perform the kicking action correctly and independently.
Front and back ledge kicking can be repeated throughout the course of the lesson to attempt to instill good neuromuscular patterns. Laurie prefers the propulsive kicking drills, including front and back kicking with a board, streamline kicking and staggered arm kicking. This needs to be continually repeated over short distances of approximately 7 metres.
Missed Part 1 of Laurie's Learn to Swim Principles? Read here
Teaching Freestyle
When teaching freestyle, Laurie likes to encourage a relaxed arm recovery and is often referred to as a high elbow. The majority of great swimmers around the world display this style of arm recovery at competitive levels. Therefore, Laurie teaches a relaxed arm recovery from the initial learning stages. Some programs introduce a straight arm action initially and attempt to correct this as the child progresses to stroke development. However, this can be challenging. The most important part of the arm action is the propulsive drive. This includes the catch or pull and the accelerated push action back to the leg.
Teaching Freestyle and Backstroke Together
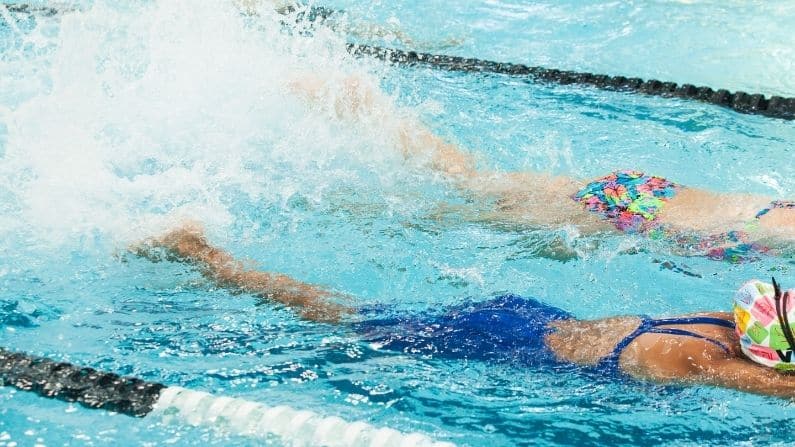
Staggered arm kicking (or one arm up, one arm down) is the first step in developing the correct entry and exit positions. From here, swimmers can build into a 6 kick change drill with no breathing to coordinate their rhythm. For effective freestyle and backstroke kicking, children need to perfect fast little kicking actions, with a floppy foot.
With the Learn to Swim Principles, Laurie likes to focus on teaching freestyle and backstroke together. The two strokes complement one another with entry and exit positions, and six beat kick adds extra propulsive drive. Once freestyle and backstroke are mastered, Laurie then introduces breaststroke and butterfly.
Laurie follows the basic teaching progressions of:
- Water familiarisation
- Breath control
- Submersion
- Floating
- Propulsion
- Learning to breathe
Frequent exposure is the key for beginners, and, parents should be encouraged to follow formal learn-to-swim lessons with regular play opportunities.
Teaching Efficient Breathing in the Learn to Swim Principles
Once swimmers master propulsive skills and drills, it becomes easy to teach the timing of breathing with freestyle arm strokes. In teaching breathing, Laurie recommends using a building block approach. He has identified 5 simple progressive drills to teach children efficient breathing, which include:
Step 1: Bubble and Breathing on a Ledge
Students simply lie in shallow water and practice blowing all their bubbles out. After this, when they need a breath, they are encouraged to turn their head and place their ear on the water to breathe. From this position, the teacher can also give students good eye contact, instructions and feedback.
Once children have had repeated attempts at bubble and breathing, the teacher can swap sides and sit on the other end of the ledge. Therefore, the children are learning to breathe on both the left and right side. In addition, following this simple method also avoids teachers having to touch or move children’s heads.
This activity can also be performed holding onto the side of the pool if no shallow ledge is available, or using a kickboard and hooking the toes over a lane rope. However, shallow water is best.
Step 2: Bubble and Breathing with a Board
Once children understand the concept of bubble and breathing, it is easy to add in kicking. For young children, it is best for their balance to hold the board on the side with thumbs on top and fingers underneath with arms straight and outstretched.
Teachers can then simply demonstrate how to hold the board and use very simple instructions like “fast kicking, fast kicking, bubble and breathe, fast kicking, fast kicking, bubble breathe”.
Swimmers then circle the lane breathing left side down and right side back, or vice versa. For young children it’s very simple for teachers to instruct children to always breathe to a landmark on one side of the pool eg. the fence, office or wall. Giving children simple instructions like, fast kicking, ear on the water to breathe, chin on your chest to bubble makes it easy for them to remember, learn and follow.
Step 3: Staggered Arm, Bubble and Breathe
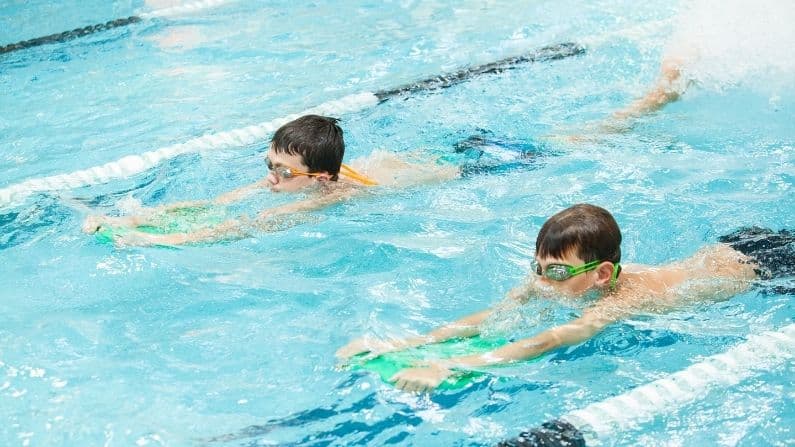
In staggered arm, bubble and breathing, children can balance their outstretched arm on a kickboard while they place the other hand by their side. Children are then encouraged to have fast kicks as they bubble and breath to the open side.
Once again, make the instructions as simple as possible. Children should circle the lane and swap arms on the way back. In this instance, they are not only improving their breathing but alternating left and right sided breathing. Children are always encouraged to maintain fast little kicks as they bubble and breathe.
Step 4: High Elbow Drill
The main objective of high elbow drill is to teach the timing of the breathing with the arm strokes. Swimmers start with both arms fully extended with the fingers on top of the kickboard at the end in the middle.
Teachers then instruct children to perform 6 fast kicking, pull down and touch their leg to breathe, with a relaxed high elbow recovery back to the board. Swimmers once again will isolate the breathing side and simple change arms on the way back to ensure that they are learning to breathe both sides.
This is the most complex drill taught so far. Therefore, teachers must use simple instructions and combine good visual demonstrations for the learner. This high elbow drill can easily be demonstrated on land and children should practice while lying on the pool deck.
Step 5: Laurie's Drill
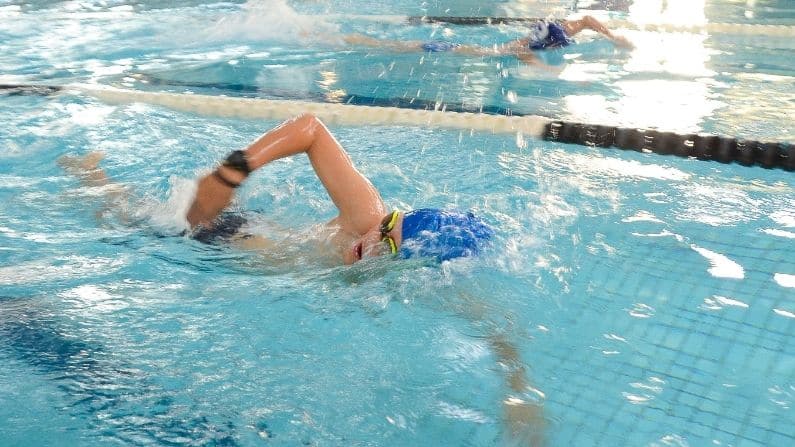
Laurie’s Drill is designed to develop a streamlined body position, coordinate the timing of breathing as well as establish a six beat kicking freestyle. This six beat kicking freestyle is performed by the majority of the world’s best swimmers and is the closest drill to a perfect freestyle.
It is performed by holding the breathing arm fully extended in front for six kicks before pulling through breathing and stopping in front again to repeat the procedure.
Laurie uses simple instructions like “6 fast kicks, change arms breathe, change arms, count”, these instructions are always given with a good visual demonstration. Normally this drill is done breathing right side up and left side back. This makes the young swimmer competent in breathing on both sides, establishes good streamlining, and builds a strong kick.
Conclusion
In conclusion, the Learn to Swim Principles should follow water familiarisation, breath control, submersion, floating, propulsion and learning to breathe, with water safety skills underpinning the entire development. Remember Laurie prefers short distances with good technique, rather than long distances with poor technique. The aspiration is to develop good muscle memory.
Join our community and keep up to date with new articles, special offers - it is free to join!
Looking for more information on learning how to swim - don't go past the Swim Library.

